How to Install Landscape Timbers
- January 30, 2024
- 0 comment
Landscape timbers are versatile materials that can enhance the aesthetic appeal and functionality of your outdoor space. They’re commonly used for creating garden beds, borders, retaining walls, and other landscaping features. This comprehensive guide will walk you through the step-by-step process of installing landscape timbers, ensuring you have all the knowledge needed to embark on this DIY project confidently.
Planning Your Project
Ensure you choose the appropriate landscape timber and design for your specific project, whether that involves constructing a raised garden bed, a planter, seating areas, a retaining wall, or shaping the terrain. Consider various options for landscape borders, such as driveway edging. Landscape timbers are available in both basic and ornate designs:
- Square-edged, resembling a fence post, for versatile applications
- Oval-shaped, featuring two broad flat sides and two slender curved sides
- More square in shape with rounded edges for a balanced look
- Designed with square lower edges and a domed top for a unique finish
Safety Measures
When undertaking projects with landscape timbers, prioritizing safety is paramount to ensure a smooth and injury-free process. It’s essential to wear protective gear such as gloves, safety goggles, and sturdy boots to shield against splinters, debris, and injuries. When handling pressure-treated wood, protective clothing and a dust mask are advisable to avoid exposure to potentially harmful chemicals. Proper tool usage and maintenance are crucial, especially with power tools, to prevent accidents. Employ correct lifting techniques to avoid back strain, and secure timbers firmly to prevent structural failures. Always check for underground utilities before digging, work in safe weather conditions to avoid heat-related issues, maintain a clean workspace to eliminate tripping hazards, and have a first aid kit accessible for immediate response to any minor injuries. Adhering to these safety measures will contribute to a successful and safe landscaping endeavor with timbers.
Essentials Required
Materials
- Landscape timbers
- Stakes
- Mason’s line
- Landscape fabric (optional)
- Gravel or sand for leveling (optional)
- Galvanized screws or nails
- Rebar or landscape spikes
Equipment/Tools
- Level
- Tape measure
- Circular saw or handsaw
- Drill with screw and drill bits
- Hammer or rubber mallet
Preparation
Before starting your landscape timber project, clear and level the project area to ensure a stable foundation. Choose the appropriate type of timber for your needs, and gather all necessary tools and materials. Proper initial preparation is key to a successful and lasting installation.
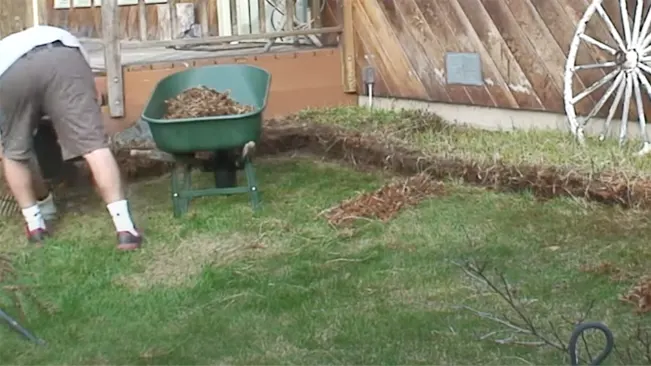
Site Preparation
Remove any debris, weeds, or grass from the site where the timbers will be placed. Utilize a spade or shovel to even out the ground, ensuring it’s flat and level.
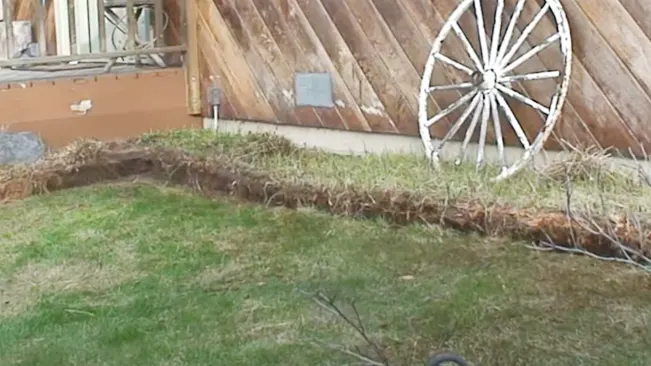
Layout
Place stakes at the corners of your planned area and connect them with mason’s line to outline your project’s perimeter. This step helps ensure your layout is straight and provides a guide for laying the timbers.
Installation Process
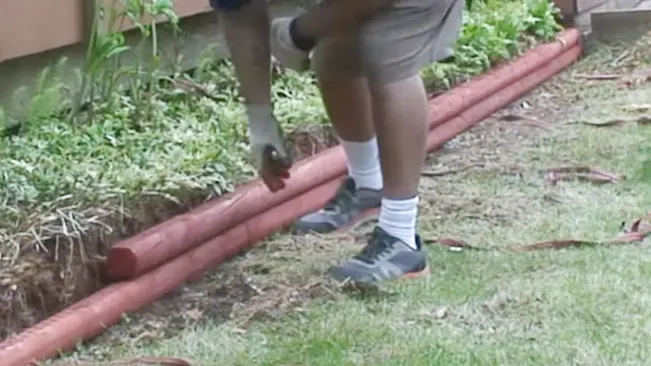
1. Laying the First Layer
Initiating your landscape timber project begins with the precise placement of the first timber along the designated boundary of your landscaping feature. This foundational step is crucial for the overall alignment and appearance of the project.

Employ a level to confirm the timber’s horizontal alignment, ensuring it lays flat and even across its entire length. In cases where the project spans beyond the length of a single timber, align additional timbers end-to-end. It’s essential to ensure these connections are flush and straight, maintaining a continuous, straight line throughout.
2. Securing Timbers
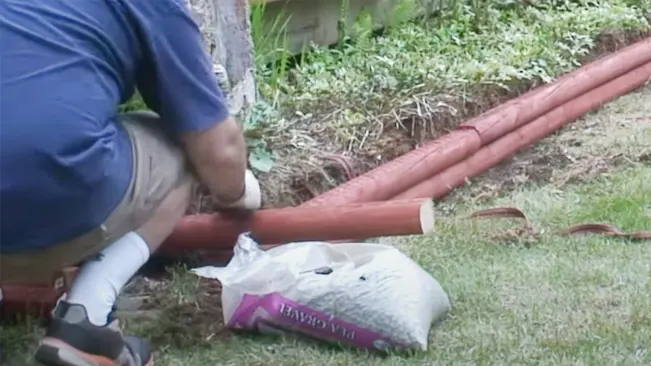
With the initial timber accurately positioned and verified for levelness, the next step involves anchoring it firmly to the ground to prevent any movement. This is achieved by drilling evenly spaced holes along the timber, typically every 2 to 3 feet, depending on the project’s requirements and the timber’s size. Following the drilling, insert rebar or landscape spikes into these holes and hammer them down into the ground.

This method effectively secures the timber in place, providing a stable base for subsequent layers or adjoining timbers.
3. Building Additional Layers
For projects that necessitate a multi-layered structure, such as raised garden beds or terraced landscaping, the addition of subsequent timber layers is key. Place the next set of timbers directly on top of the initial layer, ensuring that the joints between timbers are staggered. This staggering not only contributes to the aesthetic appeal but also significantly enhances the structural integrity of the project.
Each new layer should be fastened to the preceding one with galvanized screws or nails, creating a unified and robust structure that resists shifting and settling.
4. Creating Corners
Constructing corners, whether for framing a garden bed or defining the edge of a landscape feature, requires careful cutting and joining of timbers. For a standard 90-degree corner, a simple method is to cut a timber in half and position each half at a right angle, forming the corner. Secure these pieces together, and to the adjoining timbers, with screws or nails to maintain the angle.
For corners that require angles other than 90 degrees, precision cutting with a miter saw is necessary. Measure and mark the desired angle on the timbers, cut them accordingly, and then join them to form the custom angle, securing them for stability.
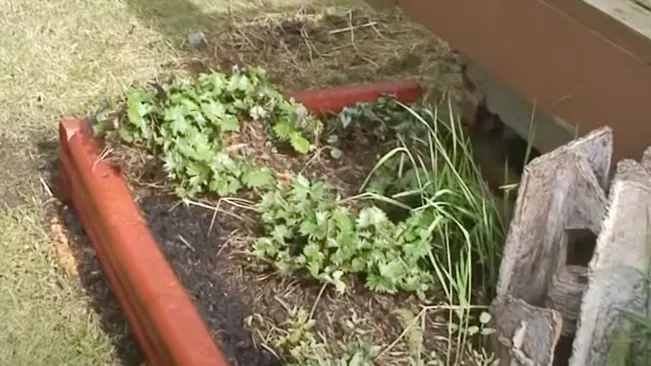
5. Backfilling
Backfilling plays a vital role in landscaping endeavors, particularly when constructing raised garden beds, decorative borders, or other structures framed with landscape timbers. This process involves filling the enclosed area with suitable materials that cater to the intended use of the space. For gardening purposes, enriching topsoil or nutrient-rich compost can be used to support plant growth, while gravel might be chosen for its drainage capabilities and aesthetic appeal in non-planting areas. It’s essential to distribute the chosen fill material uniformly across the space to ensure a level surface.

Gentle compaction of the material is recommended to eliminate air pockets and reduce the likelihood of future settling, which could compromise the structure’s integrity. Taking care to backfill properly enhances the functionality and longevity of your landscape timber project, contributing to its overall success.
6. Finishing Touches
Once the installation of the landscape timbers is finalized and the structure is assembled, it’s important to conduct a thorough review of your project. Circle the completed work to verify the stability and evenness of all timbers, making adjustments as required to guarantee their firmness and alignment.
Proceed to populate the enclosed space with the intended materials, be it soil for planting, greenery, or aesthetically pleasing stones, according to your initial design plans.
Consider Seeking Expert Assistance
Certain landscaping endeavors necessitate the use of particular landscape timbers, tailored to the specific demands of the project. Should there be any uncertainty regarding the appropriate material selection, it is advisable to consult a professional landscaper. Moreover, projects that involve cutting timbers into unique or non-standard shapes and angles warrant the expertise of a seasoned professional to ensure precision and accuracy.
Replacement Frequency for Landscape Timbers
Signs of decay in treated landscape timbers might start to appear approximately seven years in, although immediate replacement isn’t always necessary. For untreated timbers, deterioration can become evident sooner, typically around two years after installation.
Conclusion
Installing landscape timbers is a rewarding DIY project that can significantly enhance your outdoor space’s functionality and aesthetic appeal. With the right tools, materials, and a bit of effort, you can create durable and attractive landscaping features. Remember to plan your project carefully, follow the installation steps meticulously, and maintain your landscape timbers to ensure they last for years to come.
Related Topics
FAQs
- Can landscape timbers be used for retaining walls?
Yes, landscape timbers can be used to build small retaining walls, though it’s important to consider the wall’s height and the area’s soil pressure to ensure stability. - How long do landscape timbers last?
The lifespan of landscape timbers varies based on the material (pressure-treated wood typically lasts longer), environmental conditions, and maintenance. On average, they can last between 5 to 20 years. - Do I need to treat landscape timbers?
Most landscape timbers come pressure-treated to resist rot and pests. However, applying a sealant can extend their lifespan by providing additional protection against the elements. - Can landscape timbers be painted?
Yes, landscape timbers can be painted, but it’s essential to use outdoor-grade paint and primer designed for treated wood to ensure durability. - How do I cut landscape timbers?
Landscape timbers can be cut with a circular saw or handsaw. For precise cuts, especially for corners or custom shapes, a miter saw is recommended. - Is it necessary to use rebar or landscape spikes?
While not always mandatory, using rebar or landscape spikes to secure landscape timbers, especially for structures like retaining walls or raised beds, is highly recommended. They provide stability and help prevent the timbers from shifting over time. - How do I prevent weeds from growing through my landscape timbers?
Installing landscape fabric beneath and around your landscape timbers can significantly reduce weed growth. The fabric acts as a barrier, preventing weeds from penetrating the surface while still allowing water and nutrients to reach the soil. - Can landscape timbers be used in contact with soil?
Yes, landscape timbers can be used in contact with soil, especially if they are pressure-treated and rated for ground contact. This treatment helps protect the wood from decay and insect damage when exposed to moisture and soil. - How do I ensure my landscape timber structure is level?
Using a level during installation is crucial. Check the levelness of each timber as you lay it down and make adjustments by adding or removing soil underneath. For larger projects, consider using a line level on your mason’s line to ensure overall levelness across the entire structure. - What’s the best way to cut angles in landscape timbers for custom designs?
For precise angle cuts, mark the desired angle on the timber using a protractor or an angle finder tool. A miter saw is the most accurate tool for making these cuts, but if you don’t have one, a circular saw or handsaw can also work with careful measurement and cutting.

Charles Hayes
Forestry AuthorI'm Charles Hayes, I bring over 15 years of specialized expertise in landscaping and woodworking, blending artistic design with sustainable environmental stewardship. My career, fueled by a profound passion for the natural world, encompasses extensive education and hands-on experience in creating harmonious, eco-friendly outdoor spaces and responsibly managing forest resources. Recognized for my professional standing, I am committed to continuous learning and certification in cutting-edge practices. My expertise is not only reflected in my work but also in my contributions to community projects, educational workshops, and collaborations with industry leaders. As an authoritative voice in my field, I strive to share knowledge and promote environmentally conscious approaches, making me a trusted resource in landscaping and forestry.


Leave your comment